Base running and timing are essential to scoring runs. A simple and fun way to develop proper base running technique is to practice the secondary lead drill. This will help your players develop skills to advance around the bases should there be a passed ball or should the batter put the ball in play.
To do this drill, all the equipment you will need are either two bases or items that can represent bases (i.e. – throw-down base, fielding glove, etc.).
If doing this drill outside, Little Leaguers® are to wear the batting helmet and cleats they normally wear to practice or a game. If this drill is done inside (on a hard floor), Little Leaguers® are to wear their batting helmet and sneakers or running shoes.
Find an open space free of obstructions.
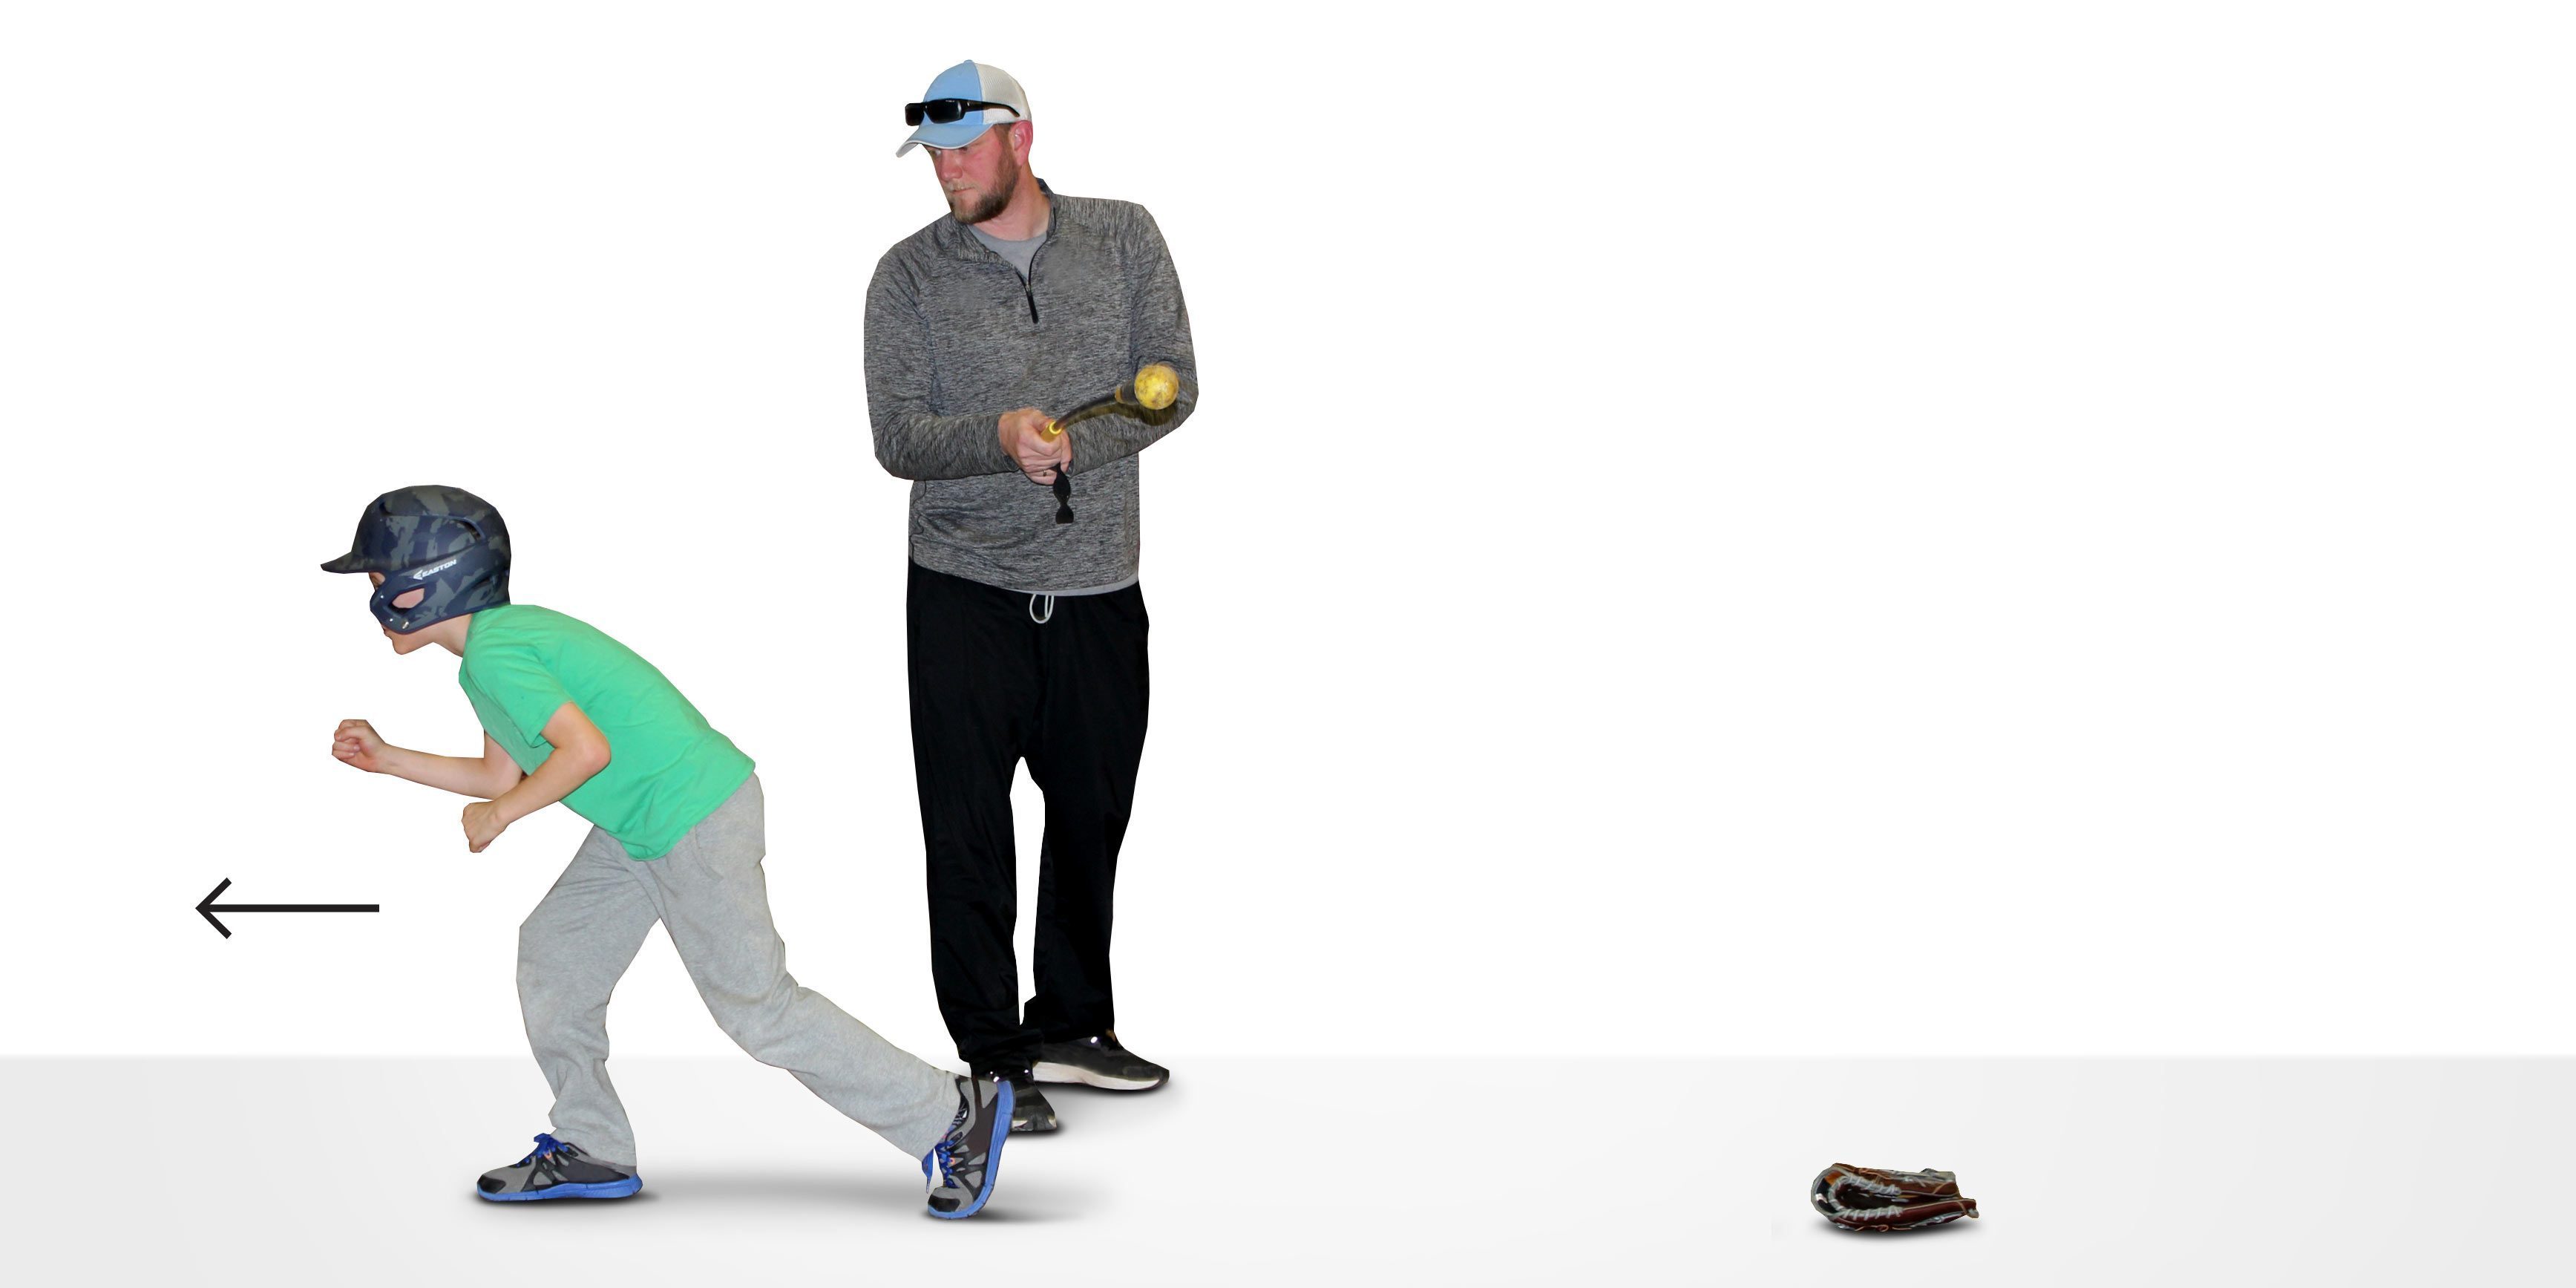
Place the bases approximately 30 feet apart. Once the bases are set, have your Little Leaguer get in a good starting position on the article representing first base and assume an athletic running position. For baseball players in the Little League Intermediate (50/70) Baseball Division, Junior League, or Senior League, place the bases approximately 50 feet apart, and have the runner start in a lead off position.
Instruct your Little Leaguer to imagine the pitcher is on the pitcher’s plate.
Then have the Little Leaguer prepare to run.
As you verbalize a pitch has been delivered to the batter, say “Go!,” and have your Little Leaguer move toward second base by taking two shuffle steps, then pivoting on their right foot and start running to second base.
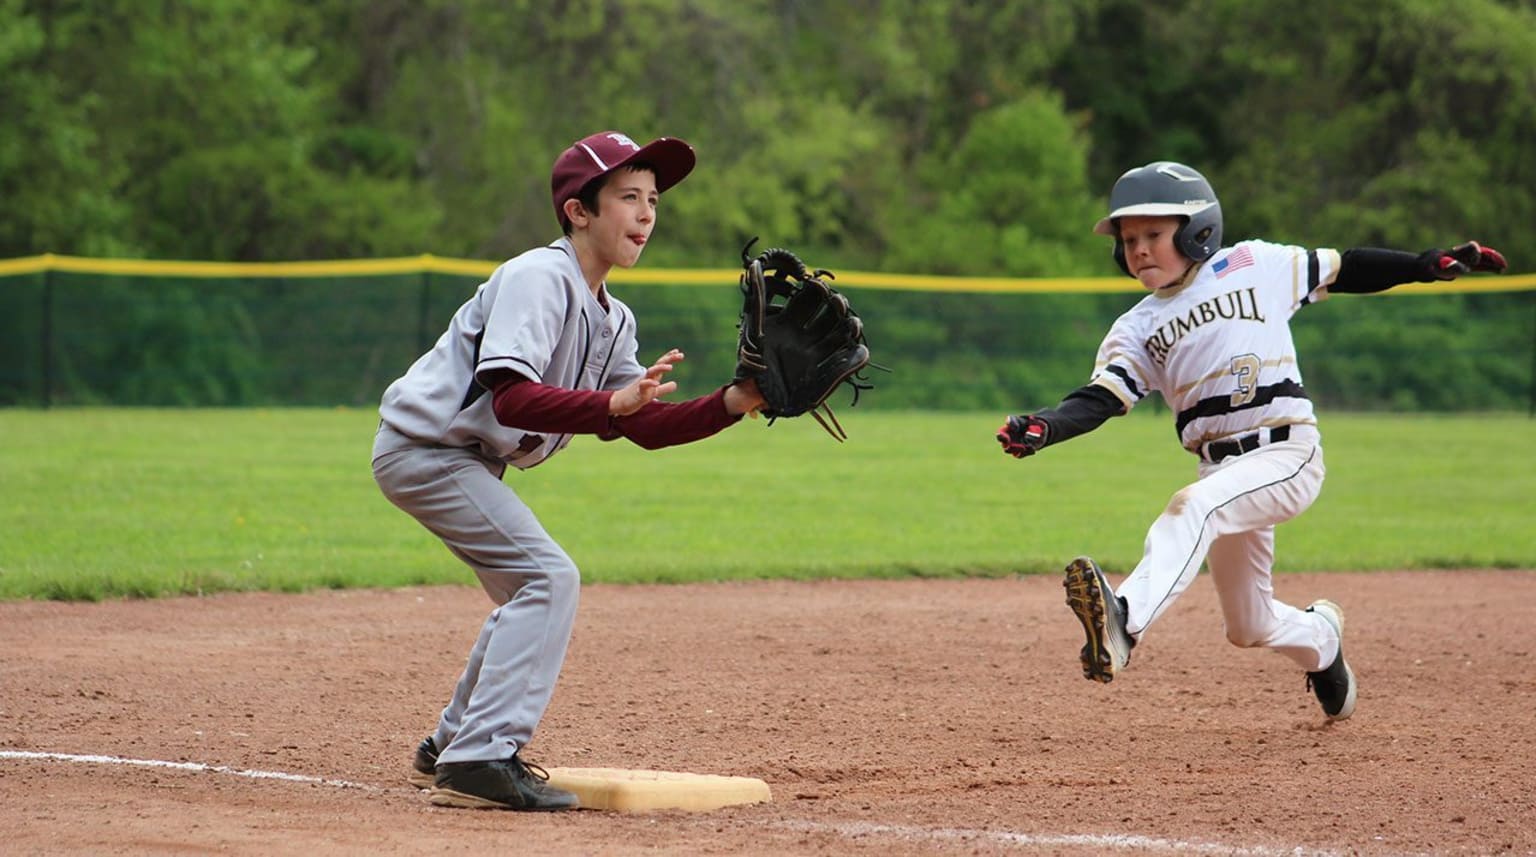
When approaching second base, have your Little Leaguer take stutter steps to control their stop at second base without sliding, or over-running the base.
Focus on timing and body positioning. Remind your Little Leaguer to keep their body’s center of gravity low to the ground and not to hop when taking the shuffle steps. Repeat several times to establish consistent timing and base running technique.
Backyard Tip 9: Glove Flips
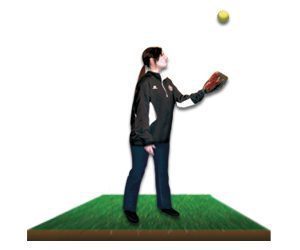
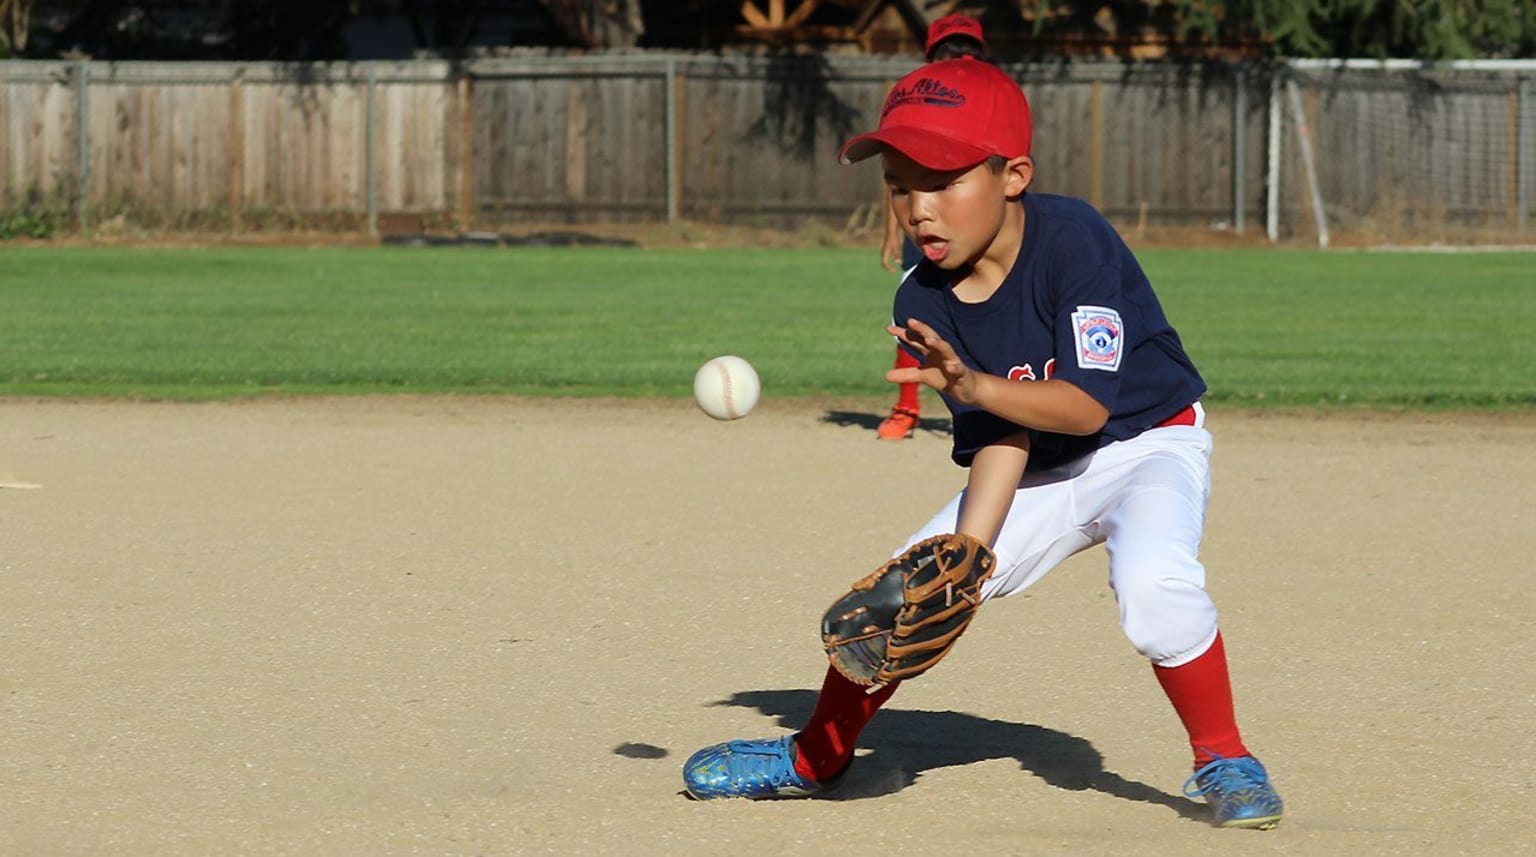
Object: This drill is intended to help your Little Leaguer® improve their ability to open their glove when playing defense. Many young players simply move their glove through the air without ever moving their hand inside their glove. This drill offers a fun way to practice and improve how a player’s hand should properly work inside the glove.
What you’ll need: Your Little Leaguer will need his or her glove and a ball. If you want to participate alongside, you will need a glove and a ball as well.
Step 1
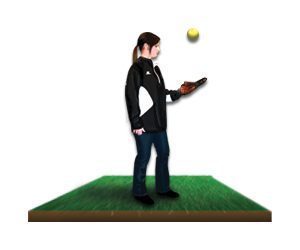
Have your Little Leaguer put his or her glove on, squeeze it closed and place the ball on the outside of the pock of the glove.
Step 2
When your player is read say “Go!” and have him or her flip the ball into the air. have your Little Leaguer open their glove by stretching his or her hand wide inside the glove.
Step 3
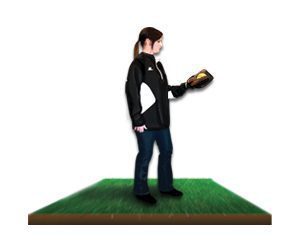
As the ball comes down, keep the glove open and let the ball hit the inside of the glove while it’s open – but don’t have your Little Leaguer squeeze their glove shut!
Step 4
With the glove open and the ball in it, have your player immediately toss the ball back into the air by pushing the glove hand upwards. Then, as soon as the ball is in the air, squeeze the glove closed again allowing the ball to quickly land on the outside pocket of the closed glove, before pushing it back up into the air.

Step 5
Repeat this Open and Closed process, each time trying to increase the quickness and frequency you send the ball back in the air. Work on sending the ball upwards as soon as it touches the glove. Play a game with this drill. For example, each time the ball touches the glove, either while it’s open or closed, it counts as 1 point. If you are practicing alongside your Little Leaguer, see who can get to 10 first!
This drill is a great way to improve catching and fielding by learning how to properly move your hand inside the glove. It also helps with your hand-eye coordination.
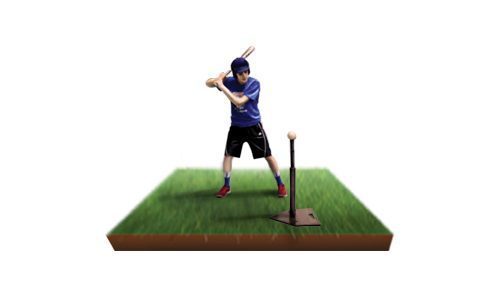
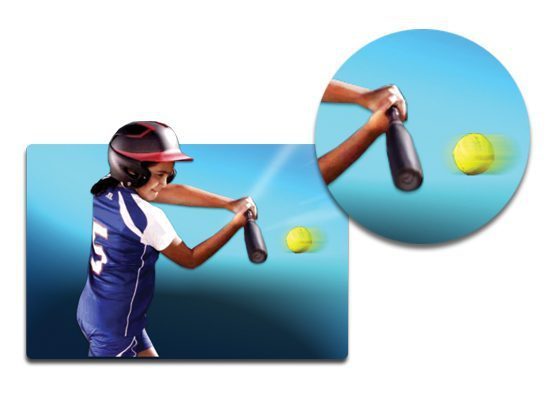
Backyard Tip 10: Using a Tee to Improve Bat Path

No matter the age or size of your Little Leaguer®, being a good hitter is all about making solid contact with the ball. If a player can see the ball, they can hit the ball and using a batting tee is a great way to develop hand-eye coordination and a consistent contact swing path. So, have your Little Leaguer dust off the bat and helmet, and wake up those muscles from their winter slumber by taking some hacks off of the tee.
Miguel Cabrera
Since leading Major League Baseball (MLB) in homers, on-base percentage and average in 2012, and becoming the first MLB player since 1967 to win the Triple Crown, Detroit Tigers’ slugger, Miguel Cabrera is known for his bat control as much as his home run power. Being such an accomplished pro, you and your Little Leaguer may be surprised to learn about one of his secrets for success. The reigning American League Most Valuable Player uses a batting tee every day!
In the 2014 edition of the Little League® Magazine, the two-time MVP said, “Taking a bunch of swings every day off a batting tee is the best way to practice your swing. If you’re able to do that consistently, you’re going to get better and better.”
Drills
Here are two simple drills that your Little Leaguer can do to maximize a consistent contact swing path. Before you begin, be sure to adjust the height of the batting tee so that the ball on the tee is slightly below the batter’s beltline. Also, be sure the player is wearing a batting helmet and is using an alloy or Little League-approved composite bat that is age-appropriate.
DRILL #1
Step 1
When facing the batting tee, have the batter line up the big toe of their front foot with the second point of the batting tee and step back so that the barrel of the bat can contact the ball when the player’s arms are extended. The ball on the tee is to be slightly ahead of the batter’s body to allow a full swing follow through.
Once the distance is established, do not allow the batter to take any practice swings at the ball. Position the batter’s feet shoulder width apart, then get into a comfortable batting stance and prepare to swing.
Step 2
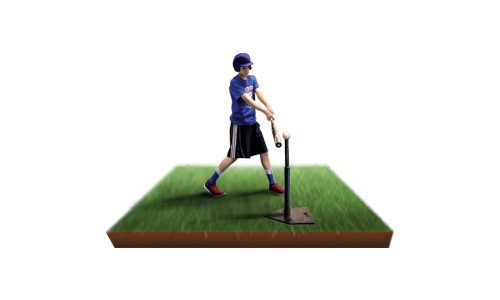
Without aiming at the ball, the player should begin to swing at normal speed, but stop just before contacting the ball. Have your Little Leaguer hold that position.
The bat is to be level with the ball as it sits on the tee; the palm of the batter’s top hand is facing up and the palm of his bottom is facing down. The batter’s arms are fully extended, the hips are open to the tee and the eyes are focused on the contact point.
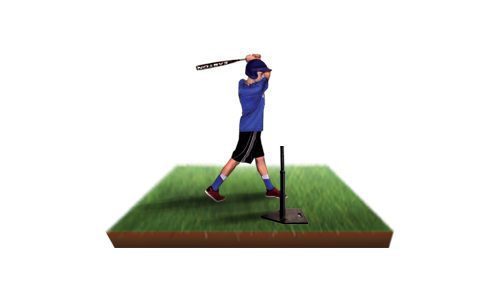
Step 3
After a one-second pause, instruct the player to follow through with a complete swing, hitting the ball off the tee. Repeat the drill 10 times to establish muscle memory.
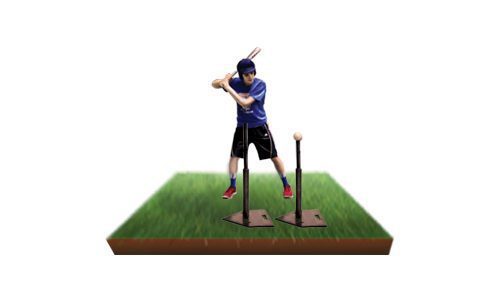
DRILL #2
To help remind your Little Leaguer to keep their back shoulder up and develop a proper swing path, place a second tee directly behind the first. Raising the level of the back tee six inches above the level of the ball on the first tee.
Repeat the steps mentioned above, including pausing the swing prior to contact.
To perform Drill #2 properly, your Little Leaguer’s bat should not hit the back tee during any part of the swing. Be sure your Little Leaguer makes solid contact with the ball on the front tee.
Backyard Tip 11: Gripping a Bat for Baseball or Softball
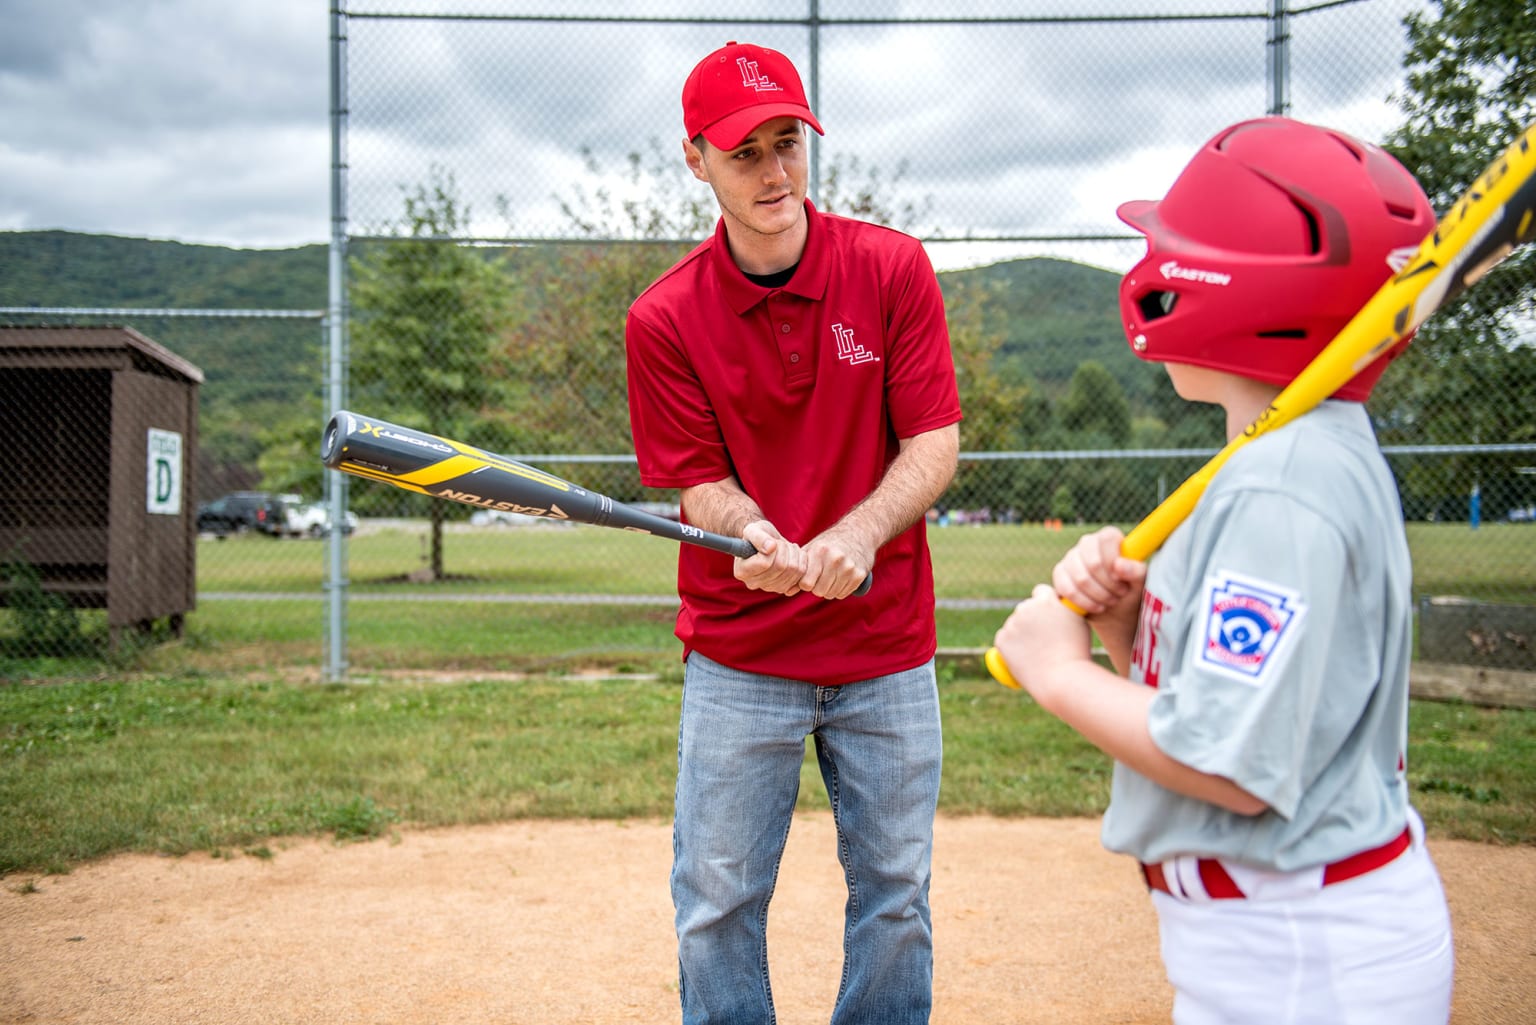
Step 1 – Door Knocking Knuckles
When gripping the bat, have the player line up their knuckles to keep their arms inside the body’s frame.
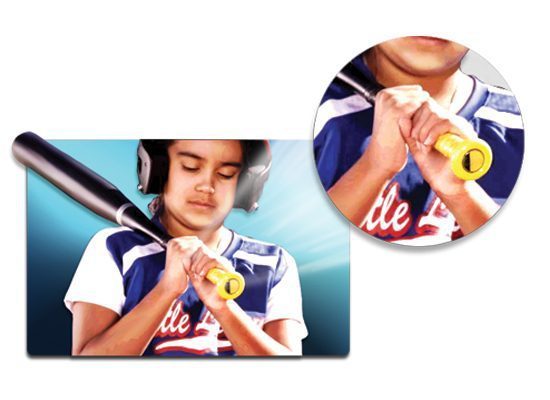
Step 2 – Proper Hitting Position
With the door knocking knuckles lined up, the player’s swing will maintain the proper bat angle through the hitting zone.
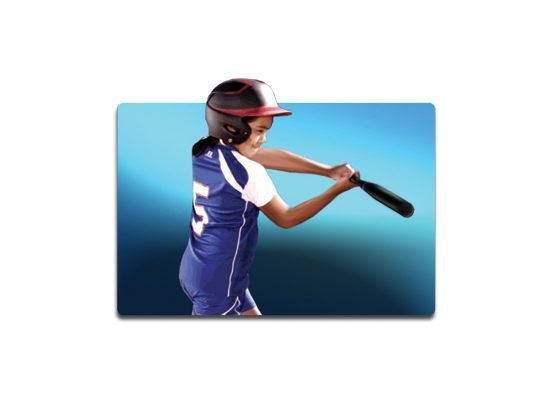
Step 3 – Contact Point
Lining up door knocking knuckles prevents the shoulders from dipping, eliminates a looping swing and allows the hands to properly carry the barrel of the bat to a solid point of contact with the ball.
Note: This technique applies to baseball and softball.
Backyard Tip 12: Water Balloon Toss
One of the more difficult skills for a beginning Little Leaguer® to learn is to “look the ball in,” when attempting to catch a fly ball. To secure a catch, the player must track the flight of the ball into glove, and use their “cover-hand” to keep it from popping out of the glove. A fun way to develop the “soft hands” necessary to catch a fly ball is playing catch with water balloons without breaking them.
For this drill, all you will need is your child’s hat or visor, a change of clothes; preferably a swimsuit, a variety of different size water balloons, and two clothes baskets or plastic buckets. Your Little Leaguer should also wear sneakers or water socks to limit the chance of slipping. Doing this drill on grass is preferable, but it can be done on a paved surface.
Tossing the Water Balloon
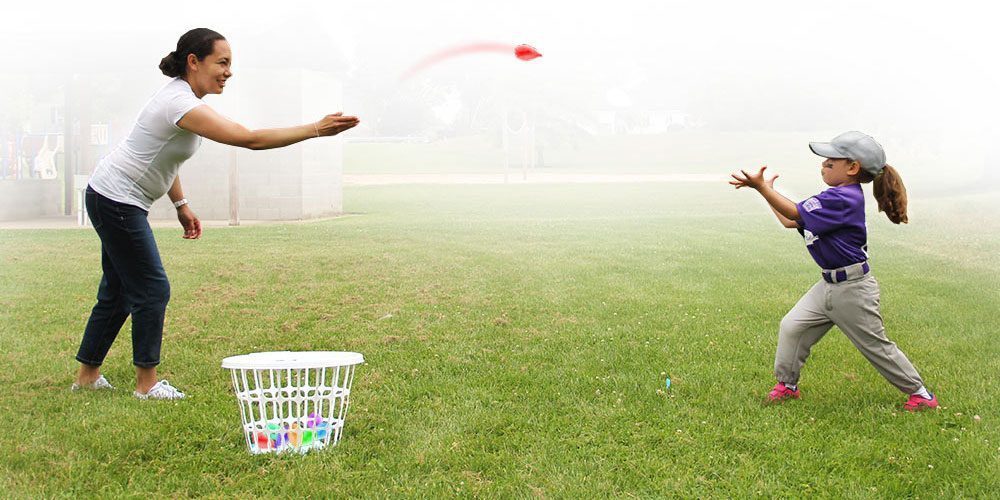
With your Little Leaguer in an athletic stance, stand approximately five feet apart and begin to toss the water balloons underhand. The player should focus on securing and catching the balloon with two-hands. The toss should be arcing and easy for the receiver to catch in the air, using two hands. Have a basket or bucket of water balloons next to you. After a successful catch, have the Little Leaguer return the unbroken water balloon to the basket or bucket.
Catching the Water Balloon
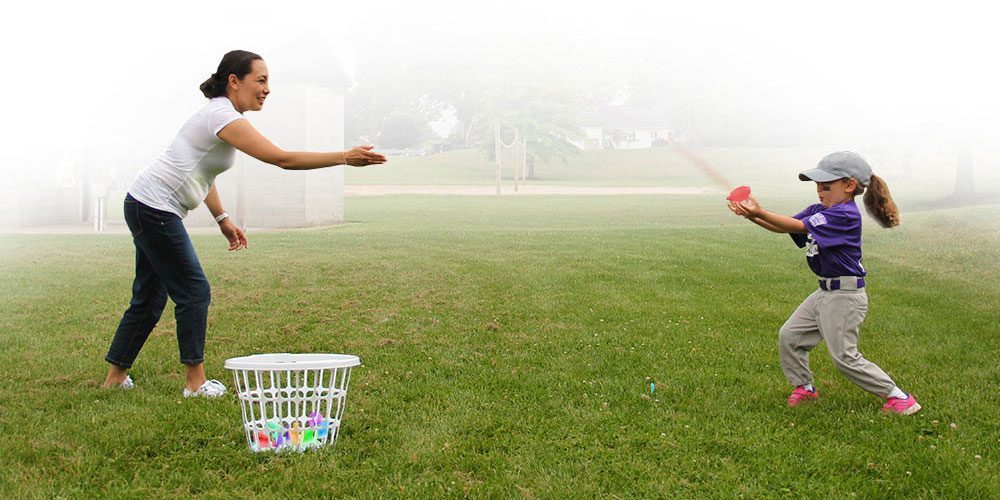
After three successful catches, have the player back up three feet. Continue to extend the distance by three-foot increments after three successful catches. Try to reach a maximum distance of 12 feet without breaking the water balloon.
After four rounds of successful catches, return to the starting position and repeat this drill a few more times. See how many catches can be secured before a water balloon is broken. Focus on the player’s technique for fielding a fly ball using “soft hands.” When you break a balloon, choose a different size balloon and continue tossing.
Backyard Tip 13: Elbow Swings Using a Tee
Young players often lunge at pitches when trying to hit. To eliminate this tendency, and establish proper balance, eye contact on the ball, and consistent hip turn in a player’s approach to hitting, “elbow” swings are a fun way to train.
To do this drill, all the equipment you will need is your child’s bat, batting helmet, a batting tee, and a net, fence, or other shock-absorbing surface to absorb the impact of the ball after it is hit, like an old blanket. A baseball, softball, or tennis ball all work great. Your Little Leaguers® should also wear cleats they normally wear to practice or a game, if you’re doing this drill on a hard or paved surface, have the player wear sneakers.
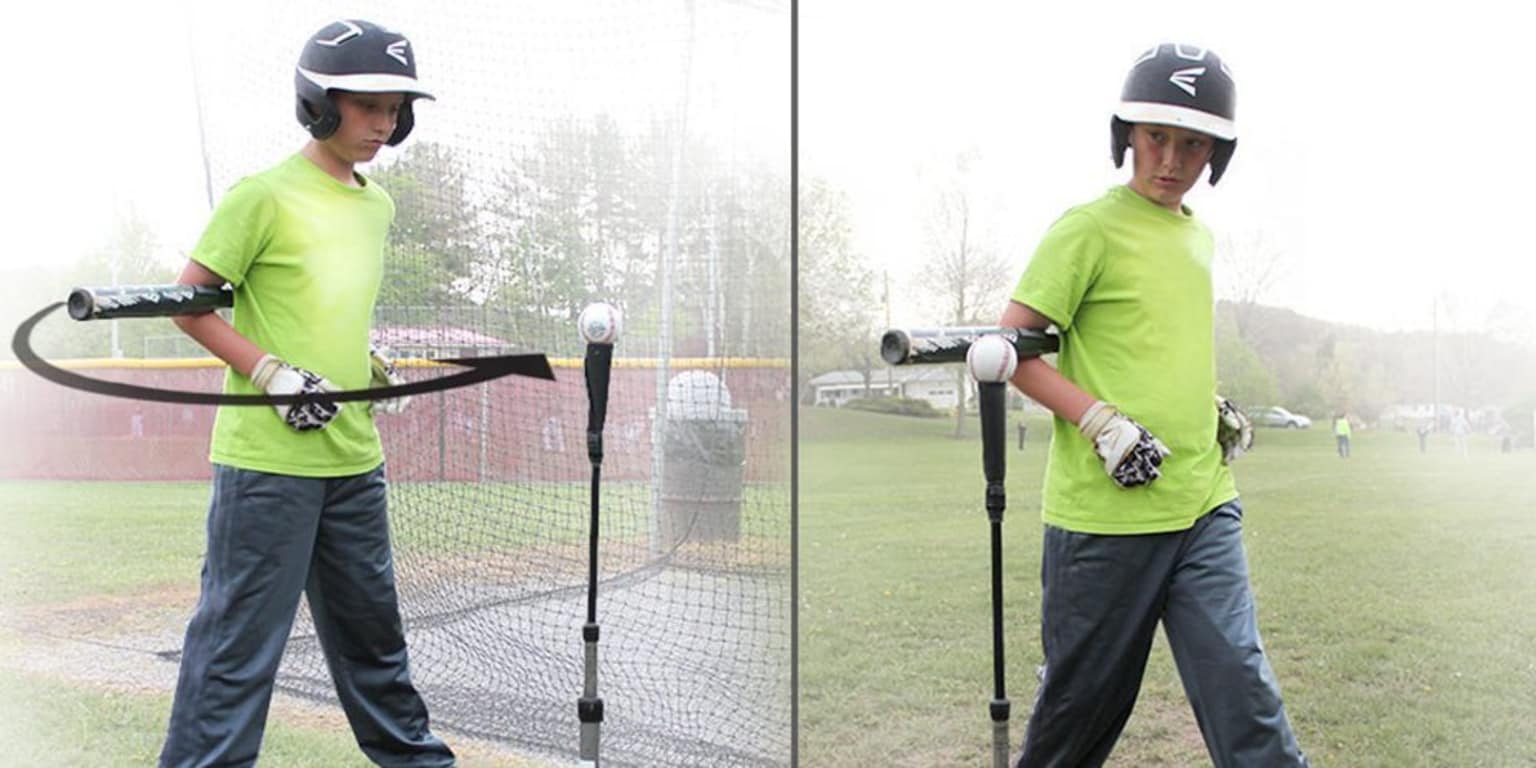
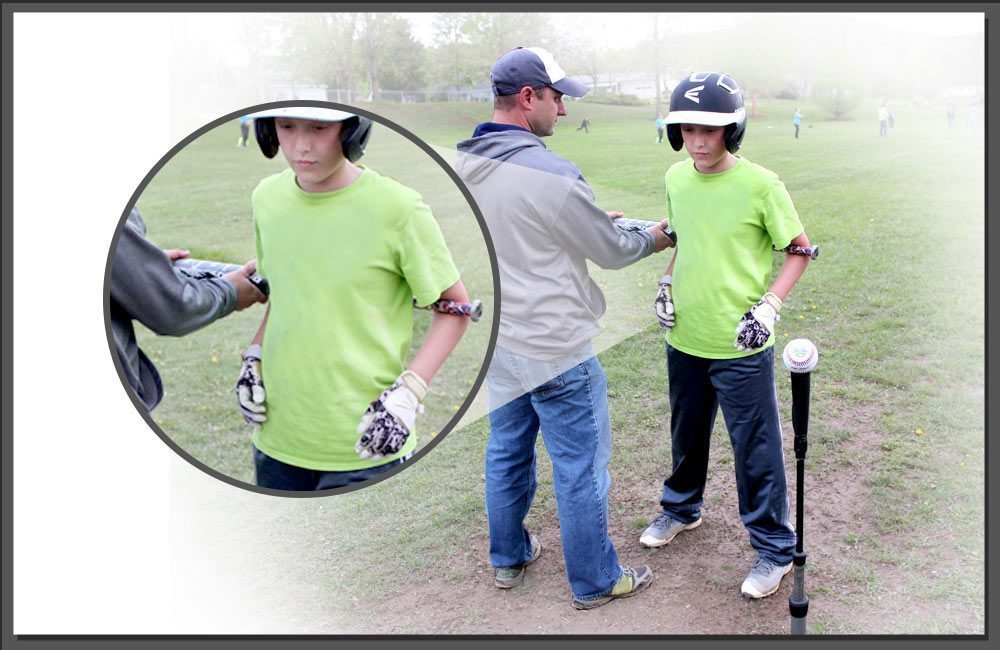
Prepping to Hit
For a right-handed batter, have the player, while wearing a helmet, put the bat behind their back, with the barrel of the bat on their right side, over the back foot. Have the barrel cradled and locked in with the right elbow, and the knob of the bat cradled and locked in with the left elbow.
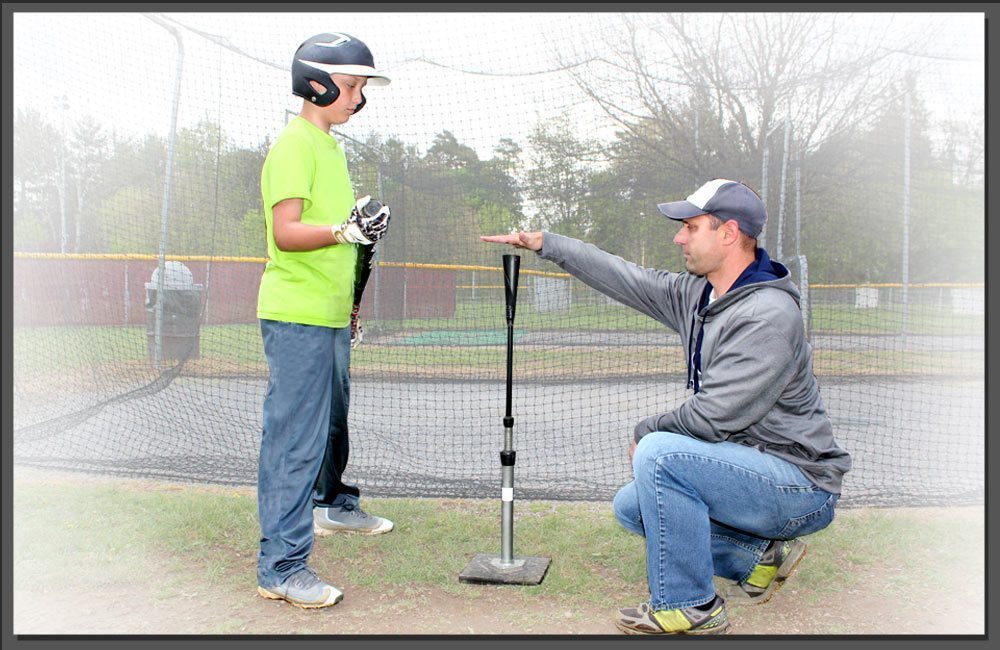
Tee Placement
Place the batting tee directly in front of the player, and rise the tee to belly button-height. Before placing a ball on the tee, have the player assume an athletic stance and take a couple of practice pivots so you can see if they are driving their hips toward the ball. The barrel of the bat should clip the very top of the tee. If it does not, adjust the tee’s height so that when the player pivots, the ball will be contacted.
Executing the Swing
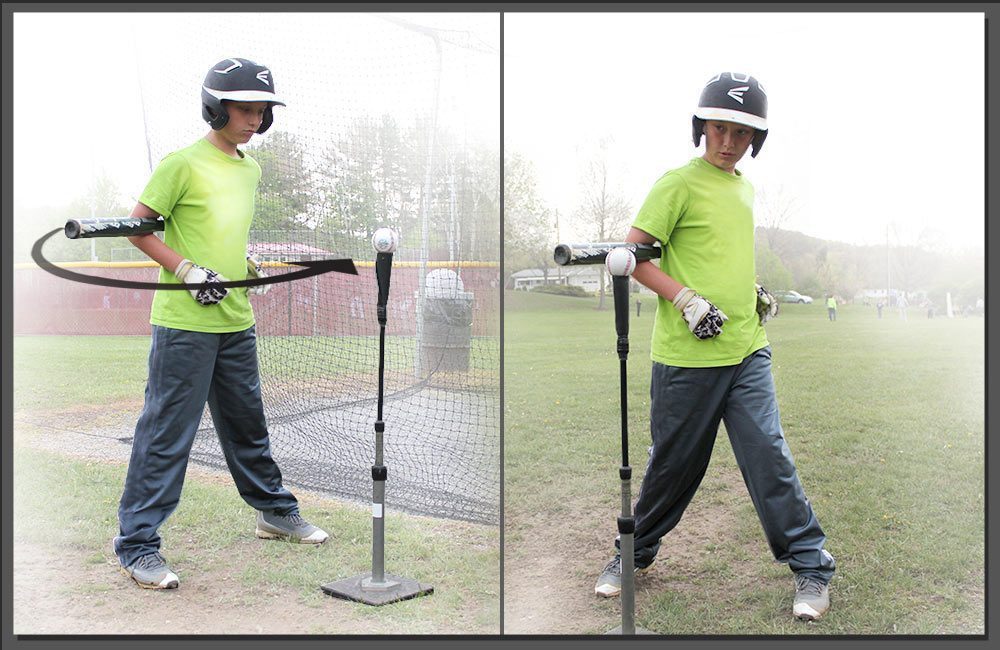
The point of this drill is to have the player rotate their hips and drive the ball, rather than lunging at the ball. Look for good hip rotation and drive by focusing on the player’s back hip. From the same basic athletic stance, the player should just be rotating the hips and hitting the ball off the tee into the net or fence, not stepping or pivoting on their back foot.
Repeat this drill few times, but focus on the player’s technique. If the player begins to lean into the ball, or wants to shuffle their feet toward the tee, these are signs of fatigue and indicators to end the session.
Backyard Tip 14: Throwing Accuracy Drill

Having a strong arm is secondary to making an accurate throw. A simple and fun way to develop throwing accuracy is to practice the hit-the-target drill.
To do this drill, all the equipment you will need is your child’s fielding glove, a ball, a target, and a wall or fence. A baseball, softball, or tennis ball all work great. Your Little Leaguers® should also wear the hat and cleats they normally wear to practice or a game.
Set-up
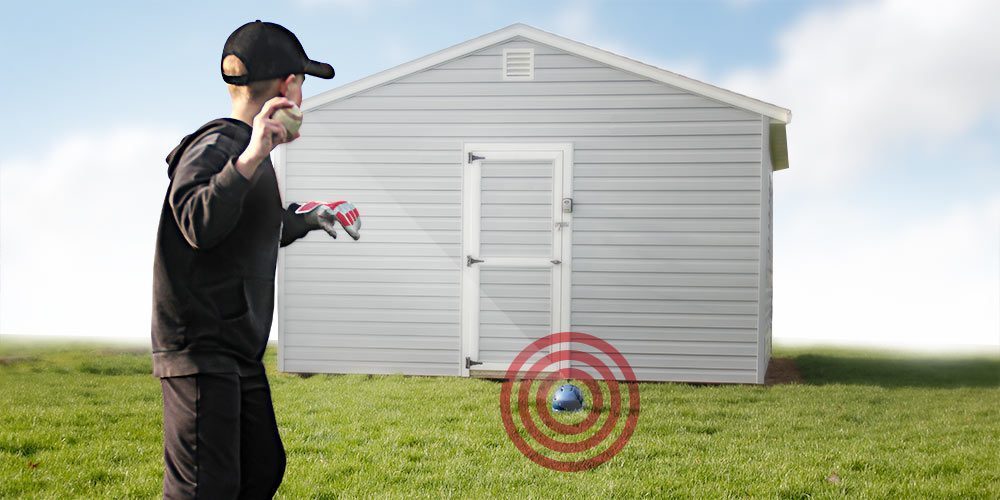
Find an open space, such as a yard or field, and place a fixed target on the ground about 10 feet away from a wall or fence. The target can be anything that a player can throw a ball toward and make contact with: a batter’s helmet, ball bucket, plastic jug, “L” screen, catcher’s mitt, or fielder’s glove.
Distance
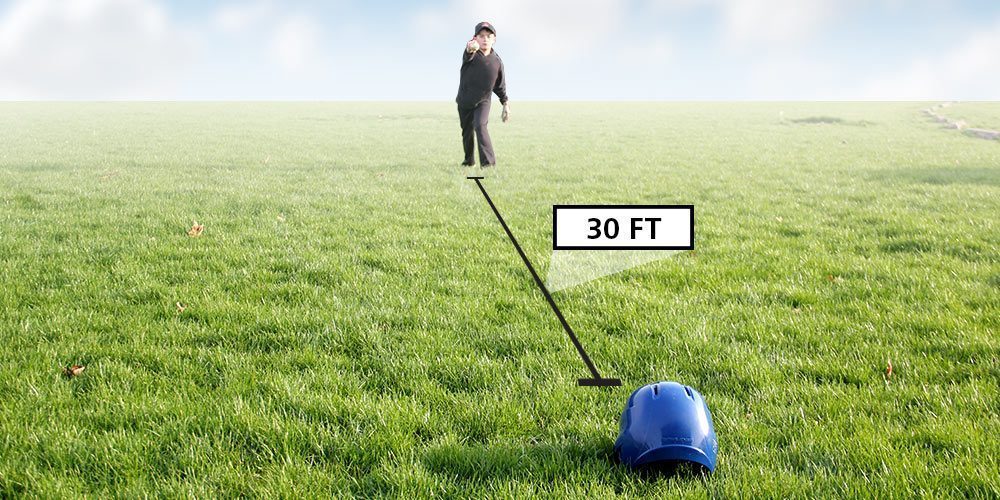
After playing catch for approximately 10 minutes to properly warm up and stretch your player’s throwing arm, step off a distance of approximately 30 feet. Be far enough away so that the player needs to throw overhand to get the ball to the target, but not too far away that the player cannot clearly see the target. You can adjust the distance based on your child’s level of play and experience.
Throw
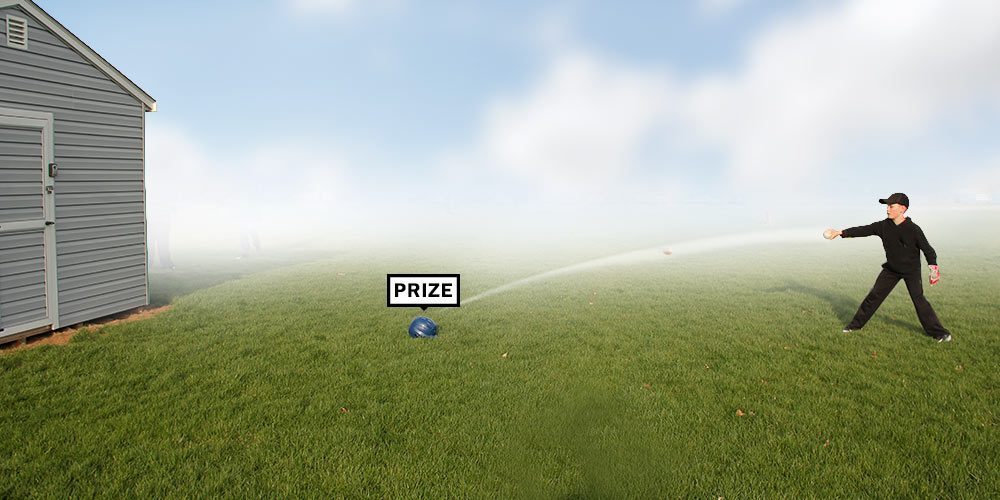
Using an overhand throw, the player attempts to hit the target with an overhand throw. You can incentivize them to hit the target by placing a prize on the target, for example a dollar bill, and if the player hits the target, whatever is on top of the target is theirs to keep.
Repeat this drill several times and vary the throwing distance and angle to the target. Remind the player to throw the ball using their natural motion and avoid trying to aim the ball. This drill is designed to simulate a player throwing to a base, and develop the ability to accurately deliver a ball that can be handled by a fielder attempting to make a tag on a base runner.
Backyard Tip 15: Reaction Pop Up Drill
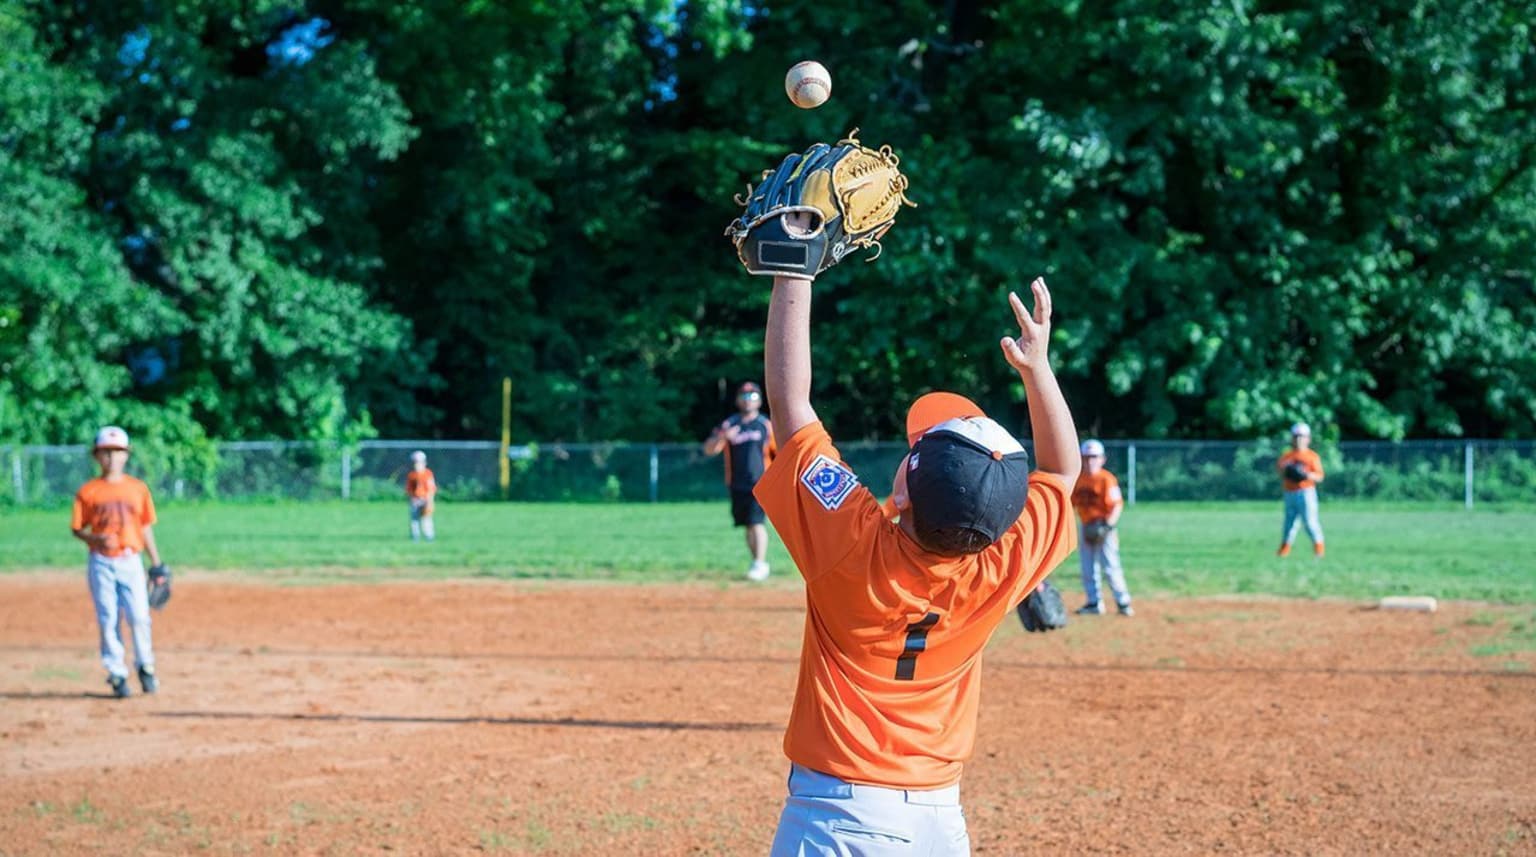
Tracking and catching a fly ball are challenging skills for younger players. A simple and fun way to develop hand-eye coordination and space awareness on a field is to practice the reaction pop-up drill.
To do this drill, all the equipment you will need is your child’s fielding glove and a ball. A baseball, softball, or tennis ball all work great. Your Little Leaguers® should also wear the hat and cleats they normally wear to practice or a game.
Ready Position
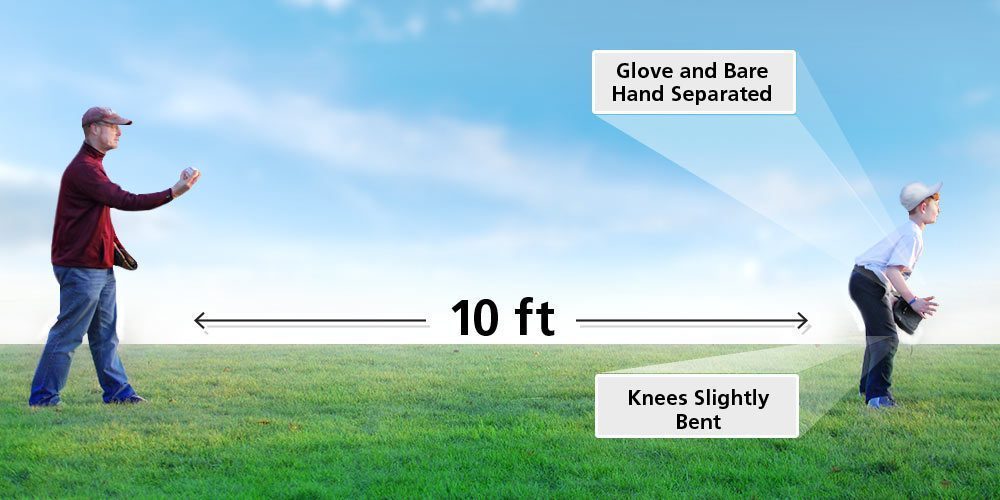
Facing away from you from about 10 feet, the player assumes an “outfield ready-position” fielding stance, with the knees slightly bent, feet shoulder-width apart, and the glove and bare hands separated.
Controlled Spin

When you are behind the player, you will call out “ready position.” After the player assumes the ready position stance, you say “go!” At the same time the players spins around in a natural, controlled manner, toss the ball high into the air.
Fielding Position and the Catch

The player is to move into position under the ball and make the call to catch it, for example chanting “Mine, Mine, Mine.”
As the ball descends, the player should extend both of their arms to catch the ball in the gloved hand. As the attempt at a catch is made, instruct the player to catch the ball in the pocket of the glove. The glove needs to be above, and slightly in front of their head, so to see the ball go into the glove. Once the ball is in the glove, the player should and cover it with the bare hand.
Repeat this drill several times and vary the height and direction of the ball. Remind the player to move the feet, while continuing to track the ball. It is recommended that this drill is done away from any trees or other structures. For younger players, use a tennis ball or other softer ball of similar size.